
A.Permanently Disable Windows Update (Until You Re-enables It)
1. Using Group Policy Editor (Windows Pro/Enterprise Only)
This method provides more granular control and is often more persistent, but it’s only available on Pro and Enterprise versions of Windows.
Press Windows Key + R, type
gpedit.msc, and press Enter.Navigate to Computer Configuration Administrative Templates Windows Components Windows Update Manage end user experience.
Find and double-click the policy named Configure Automatic Updates.
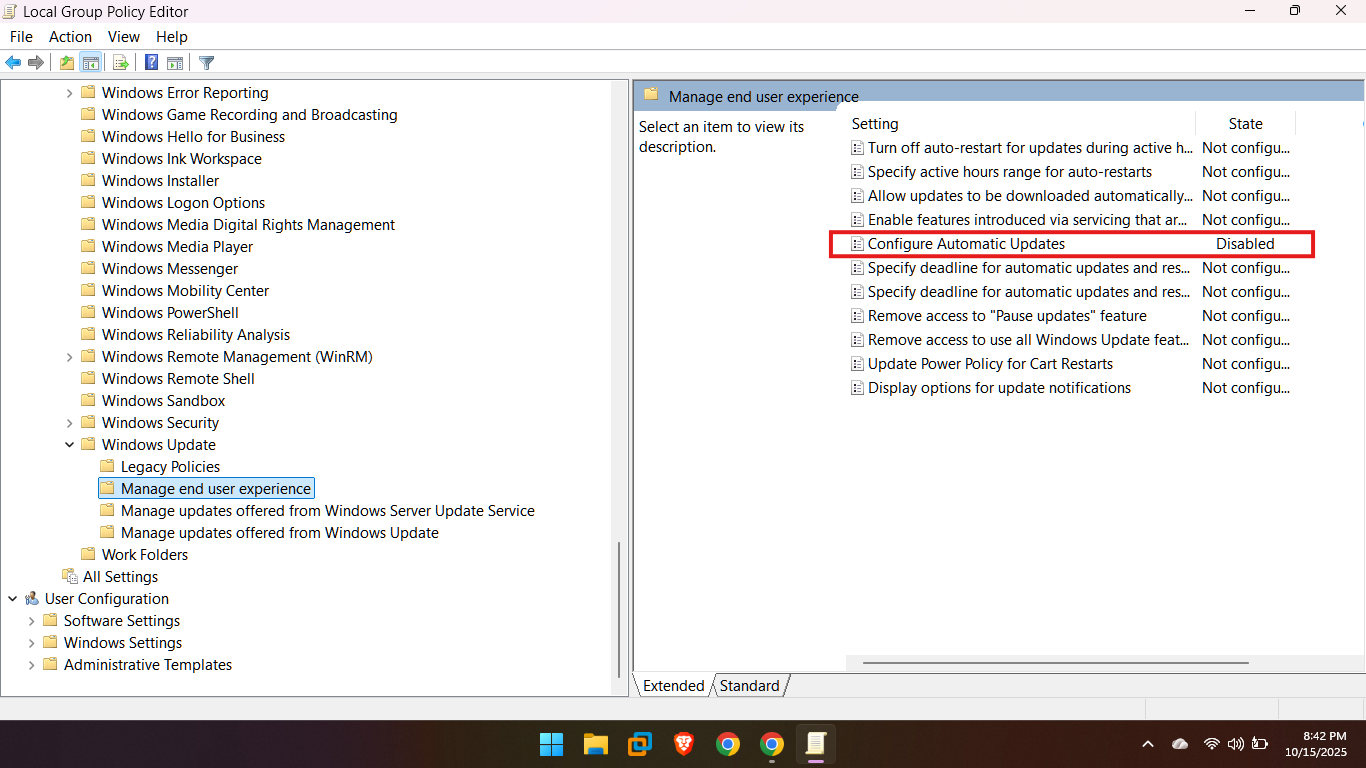
In the configuration window, select Disabled.
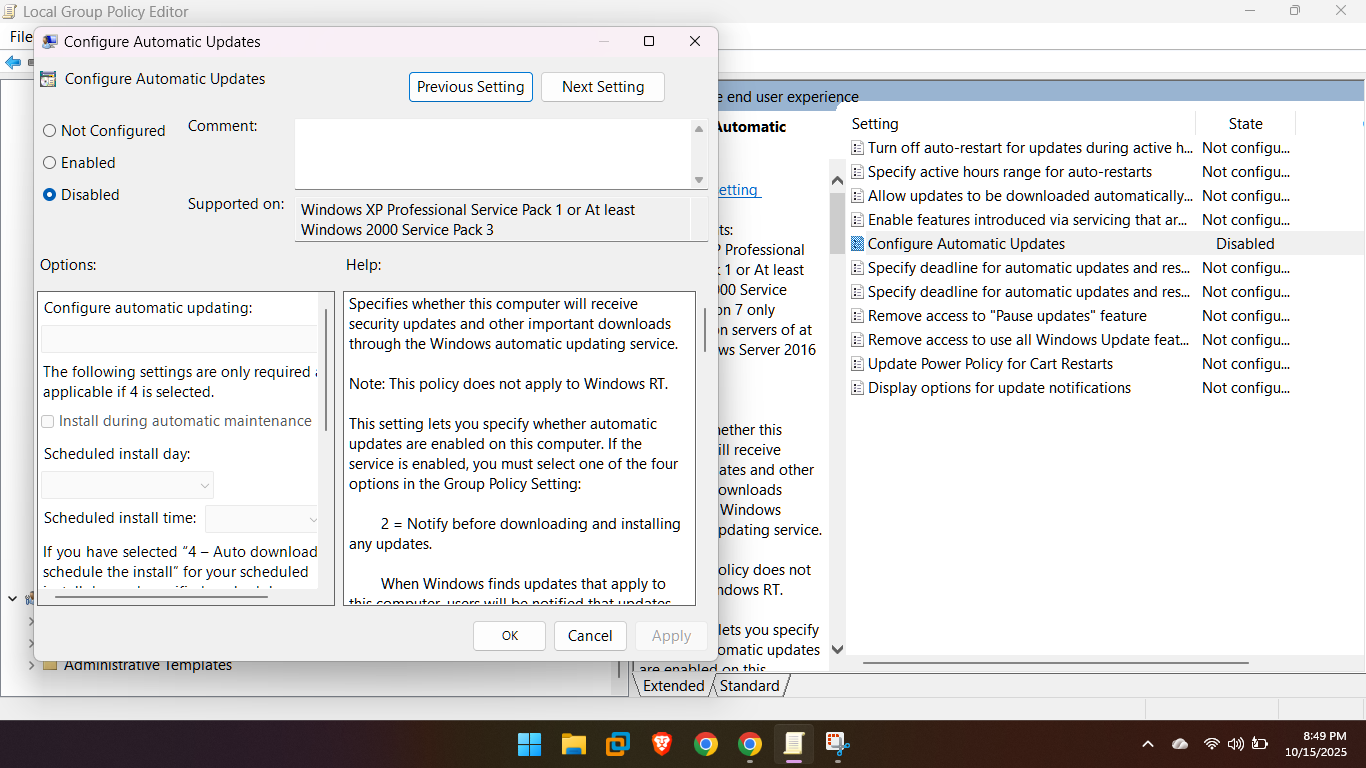
Click Apply, then OK.
Restart your computer to apply the policy change.
2. Through Windows Services (Most Common Method)
Press Windows Key + R, type
services.msc, and press Enter.In the Services window, scroll down and locate the Windows Update service.
Right-click on it and select Properties.
Under the General tab, change the Startup type to Disabled.
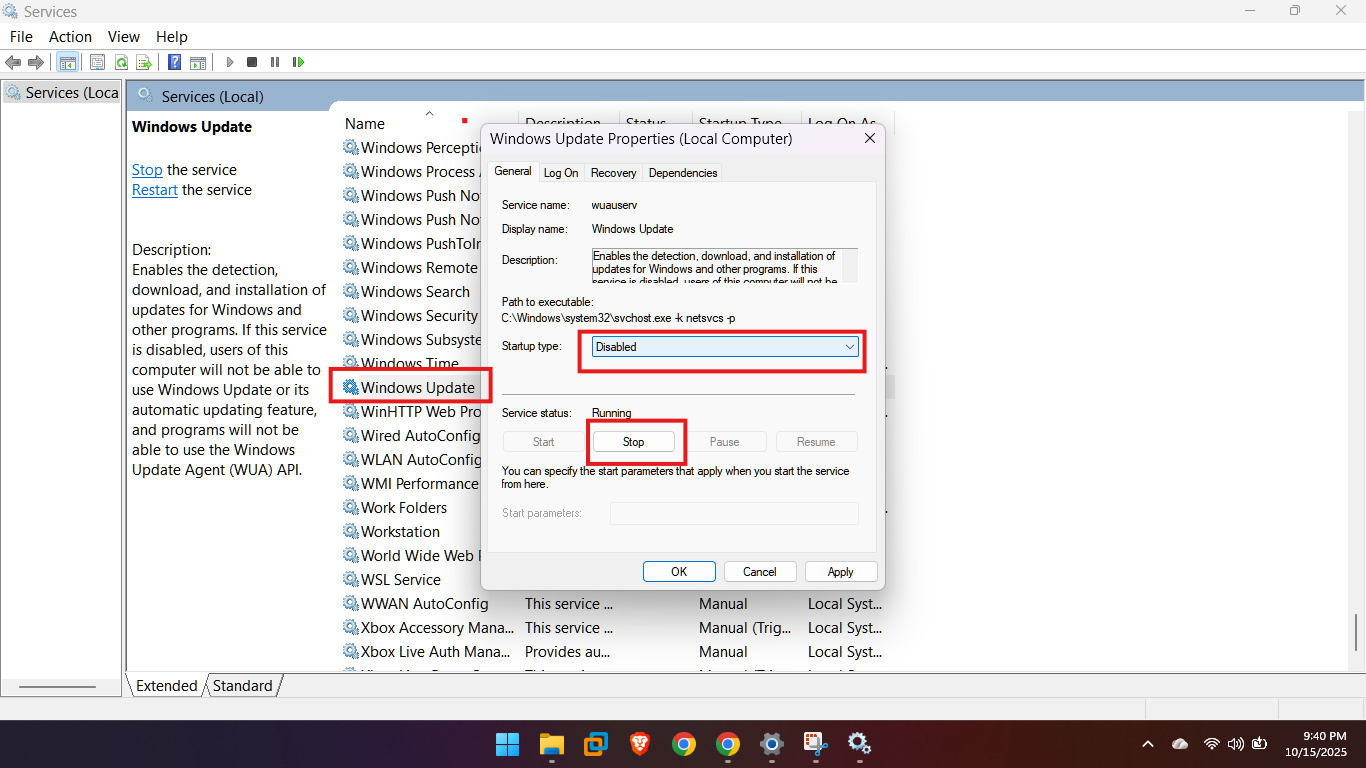
If the service status is “Running,” click the Stop button.
Click Apply, then OK.
Restart your computer for the changes to take full effect.
B. How to Uninstall the Latest One-Week Update
If a recent update has introduced bugs or compatibility issues, you can usually uninstall it from the Control Panel or Settings, though some updates (like security patches) cannot be removed.
Go to Settings (Windows Key + I).
Click Update & Security (or Windows Update in Windows 11).
Click View update history (or Update history).
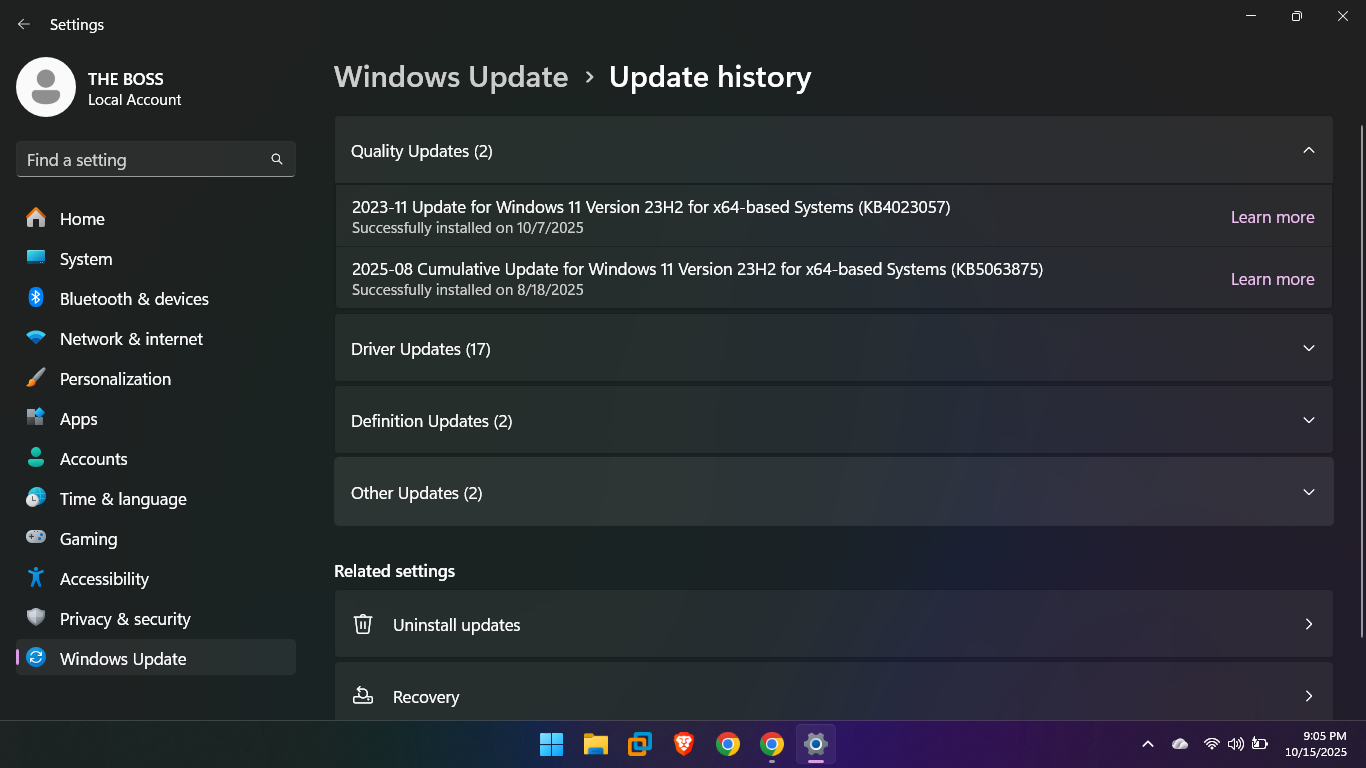
On the next screen, click Uninstall updates at the top. This opens the Control Panel list of installed updates.
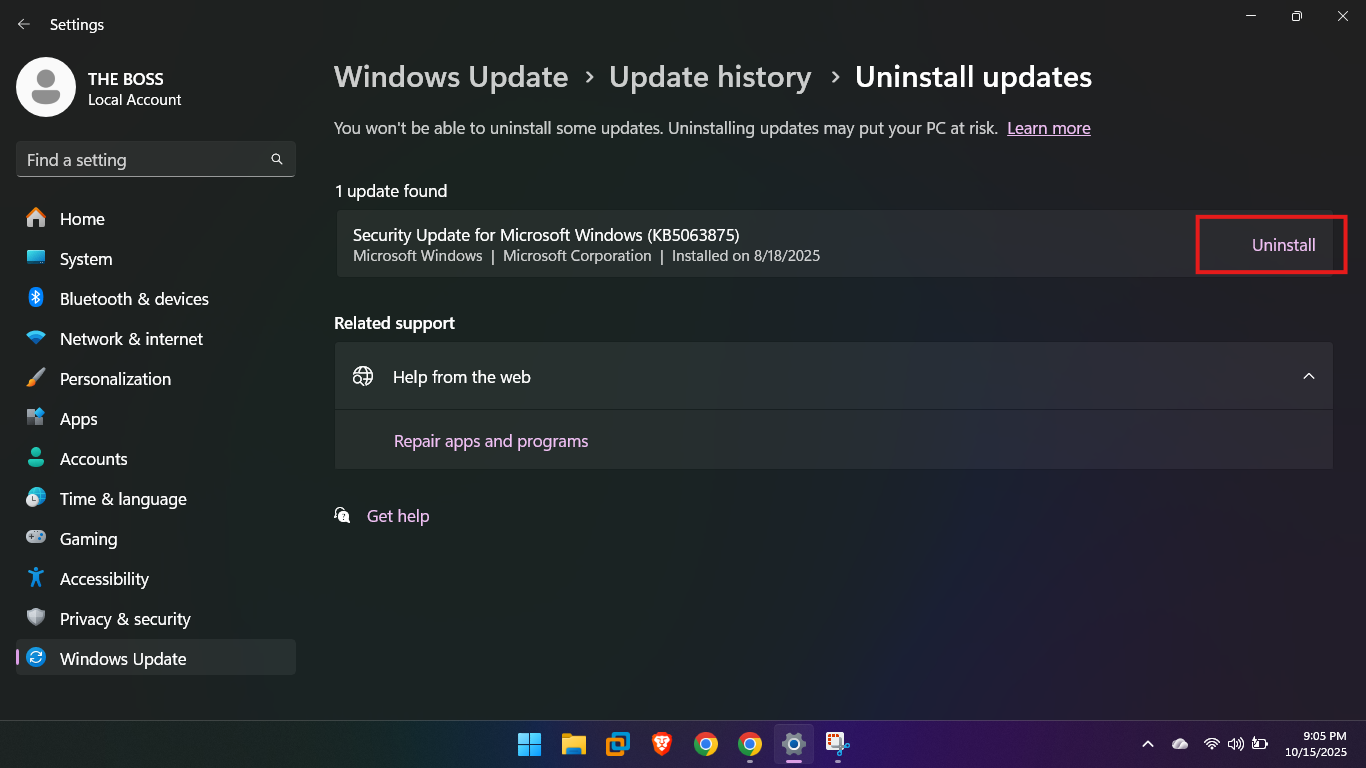
The updates are usually listed with an installation date. Look for the update installed within the last week (typically a KBXXXXXXX number under the “Microsoft Windows” section).
Click the problematic update to select it, and then click Uninstall at the top of the list.
Follow the prompts to complete the uninstallation, which will likely require a restart.