
How to Install and Enable Windows Sandbox
Windows Sandbox is a feature included with Windows 10 Pro/Enterprise/Education and Windows 11 Pro/Enterprise/Education editions. It is not available on Home editions.
Step 1: Check Prerequisites
Your computer must meet a few technical requirements:
OS Edition: Windows 10 Pro, Enterprise, or Education (version 1903 or later) or Windows 11 Pro, Enterprise, or Education.
Processor Architecture: AMD64 or Arm64.
Virtualization: Hardware virtualization must be enabled in your computer’s BIOS/UEFI settings. You can check this in the Task Manager under the Performance tab (CPU section). If it says “Disabled,” you need to enable it in your computer’s firmware settings.
RAM: At least 4 GB (8 GB recommended).
Disk Space: At least 1 GB of free disk space (SSD recommended).
CPU Cores: At least two CPU cores (four cores with hyper-threading recommended).
Step 2: Enable Windows Sandbox
If your system meets the prerequisites, you can enable the feature:
Open Windows Features: Type “Turn Windows features on or off” in the Windows search bar and click on the result.
Enable Sandbox: In the new window, scroll down and check the box next to Windows Sandbox.
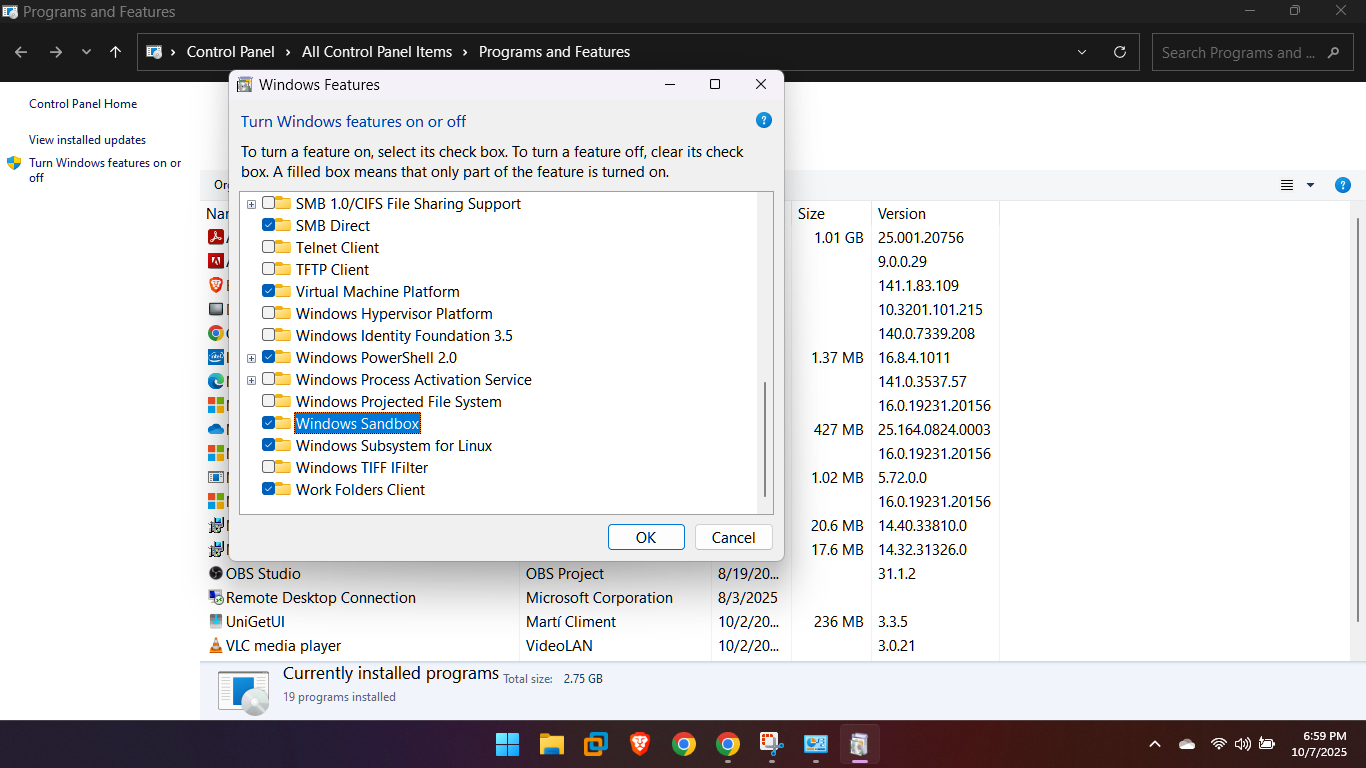
Click OK.
Windows will install the necessary components, and you will be prompted to restart your computer.
Step 3: Start Windows Sandbox
After your computer restarts:
Type “Windows Sandbox” in the Windows search bar.

Click the application to open it.
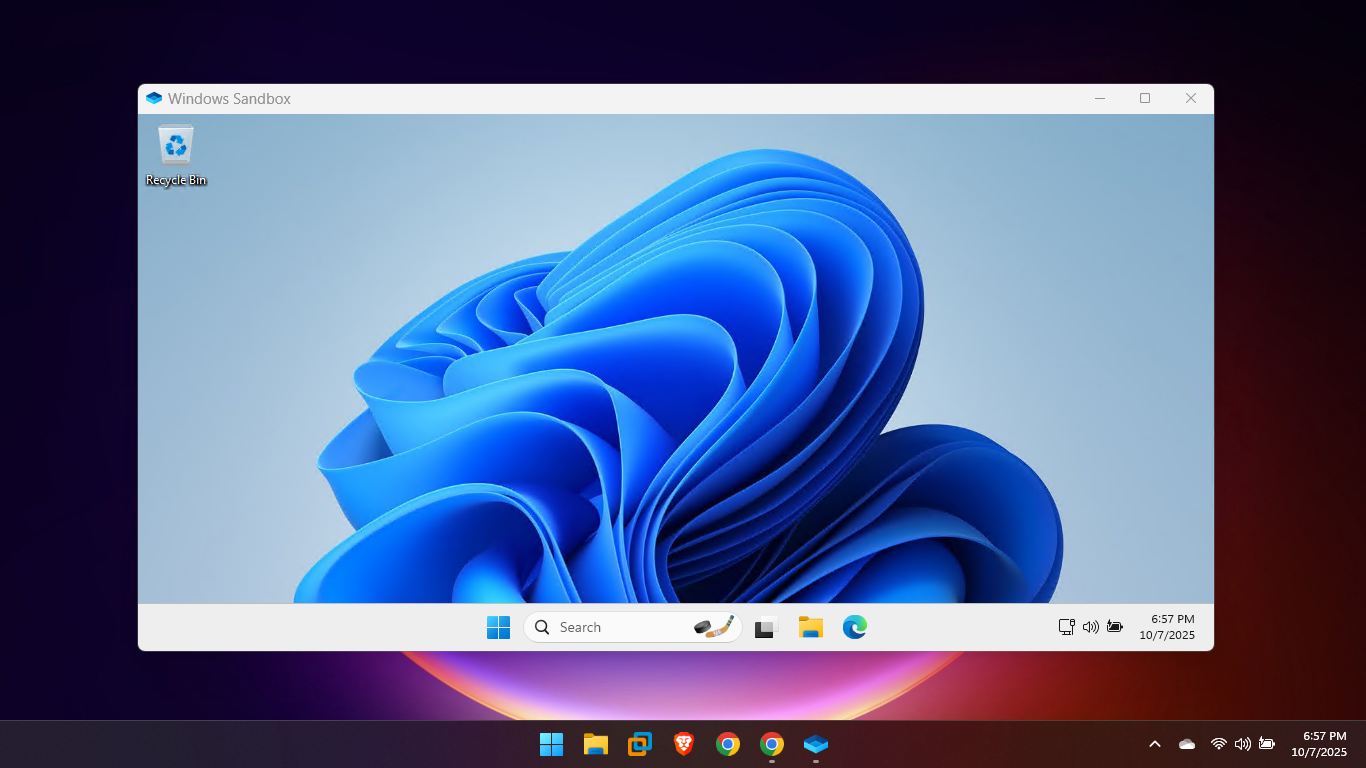
A new, isolated desktop environment will open. Everything you do inside this window is separate from your main operating system and will be permanently deleted when you close the Sandbox.